Renter Friendly Kitchen Cabinet Makeover: Contact Paper Math and Easy Knob Swaps
Renter transparency: If you buy through links on this page, Nook & Lease may earn a small commission at zero extra cost to you. How we make money.
Renter Scorecard
- Wall damage
- None to walls; door finish can lift on removal
- Est. budget
- $24–$120 for paper, plus $32–$173 for hardware
- Setup time
- A weekend for 18 doors
- Removal
- Warm, then peel slowly at a low angle
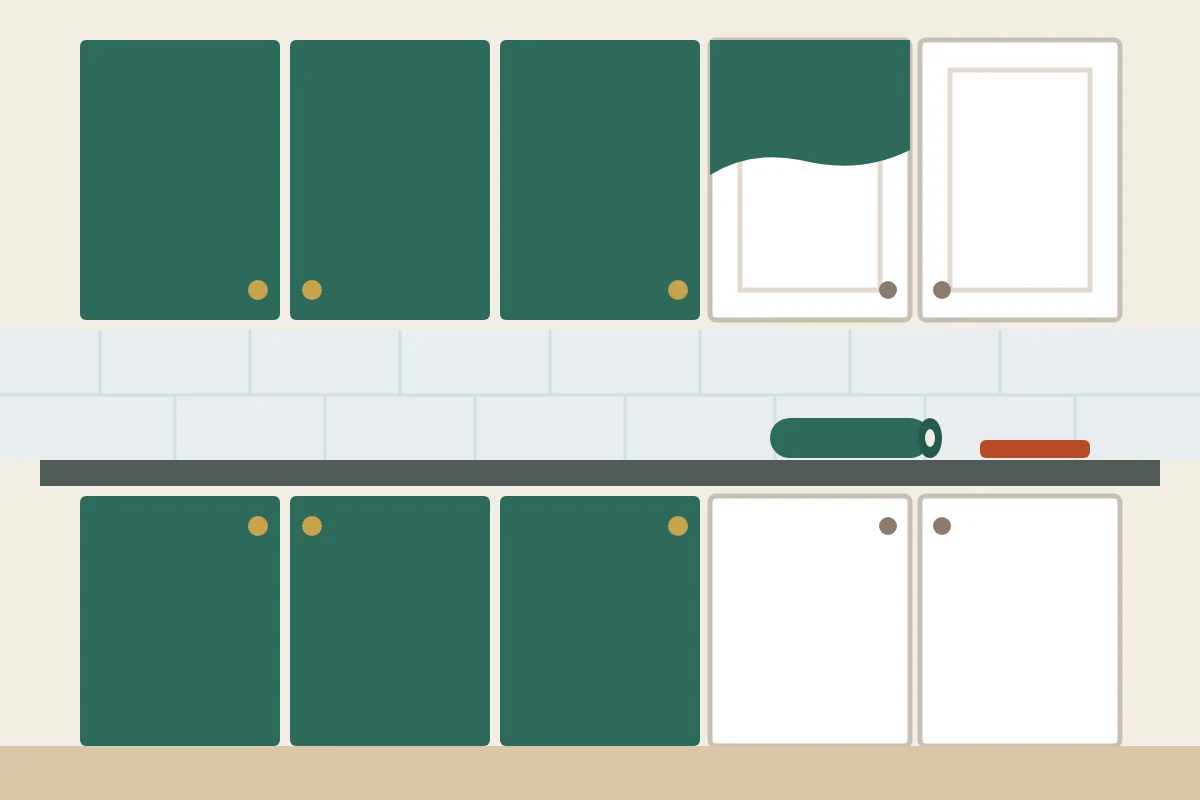
Dated cabinet doors are the biggest thing in most rental kitchens, and you can’t paint them. A renter friendly kitchen cabinet makeover uses removable paper on the fronts and new knobs in the old holes. Check your lease first, and get your landlord’s OK in writing if it says anything about alterations.
The paper is the cheap part. The risk is what’s under it: some door finishes lift when the paper comes off, and heat near the stove makes it worse. Here’s how to check your doors, how much paper to buy, and how to cut it.
Before a Renter Friendly Kitchen Cabinet Makeover: Check the Door Finish
Rental cabinet doors usually come in a few finishes, and they don’t all handle adhesive the same way. Look at the edges and the back of a door to tell which one you have.
| Door finish | How to spot it | Risk |
|---|---|---|
| Painted wood | Brush marks, paint on the edges | Paint can lift |
| Laminate or melamine | Flat plastic face, edge banding | Edges can peel |
| Thermofoil | Smooth vinyl wrapped over the edges | Heat can lift it |
| Stained or clear-coated wood | Wood grain under a clear finish | Brand rules vary |
Thermofoil needs the most care. Holiday Kitchens says thermofoils “can be damaged by excessive heat,” and Wellborn’s care guide warns that “undue wetness and heat to the edges of thermofoil and laminate doors will cause delamination over time.”
Brands disagree on wood. Tempaper’s FAQ lists cabinets as a use and says it “can be applied to wood paneling that is smooth and has a lacquer finish.” On Target, a Threshold brand expert says of its shiplap paper: “we cannot guarantee a clean removal from wood cabinets.” If the doors were just painted, Tempaper recommends “waiting at least 30 days after painting.”
Test first. Stick a small piece inside a door for 24 to 48 hours, then peel it slowly. If finish, paint or fibers come off on the back, stop there. d-c-fix warns that removing film from “damaged paint or thin veneer” may damage the surface underneath.
Contact Paper Math for 18 Cabinet Doors
Paper is the main cost of a renter friendly kitchen cabinet makeover, so buy the right amount. Wallpaper calculators assume a flat wall. Cabinet doors need extra on every edge so the paper wraps around and doesn’t peel at the corners.
Add 1 in. on each side of every door. That covers a typical 3/4 in. door edge plus a little of the back.
Our sample kitchen has 10 upper doors at 15 x 30 in. and 8 lower doors at 15 x 24 in. That’s 51.25 sq ft of door fronts, but 62.3 sq ft of paper once you add the wrap, about 22% more.
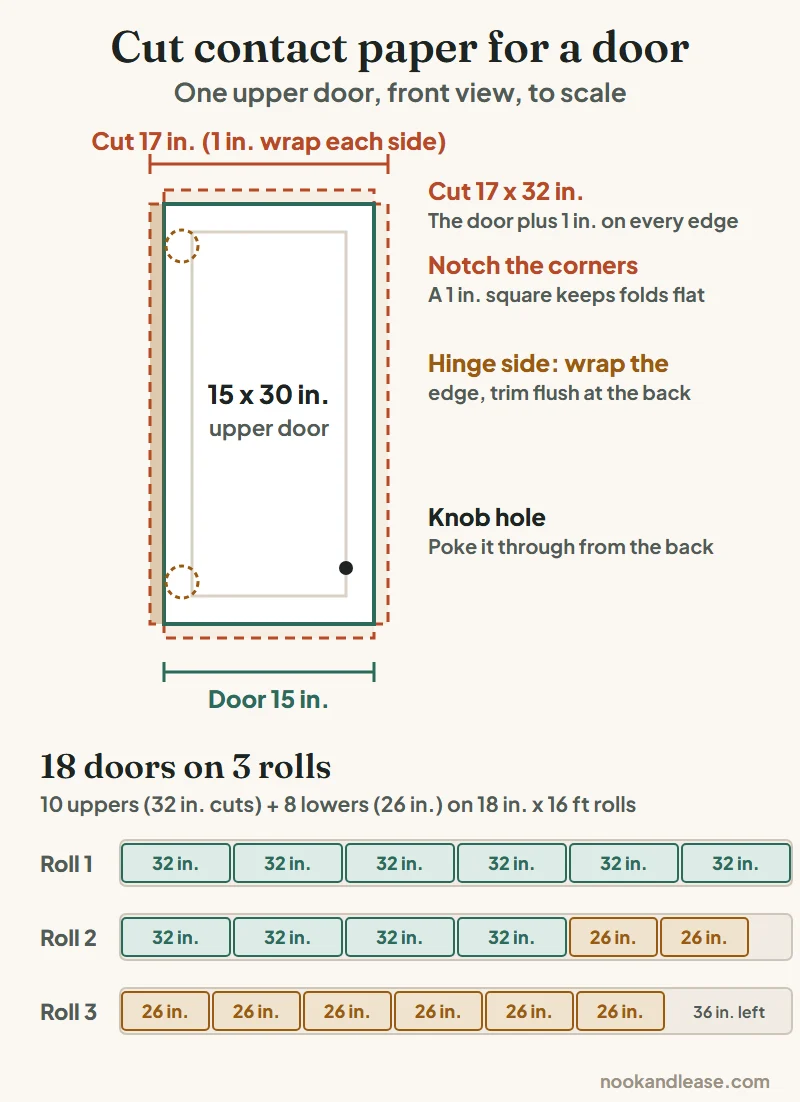
Every cut is 17 in. wide, so each one fits across an 18 in. roll with the long side running down the roll. The 10 upper cuts at 32 in. and 8 lower cuts at 26 in. add up to 44 ft of roll.
| Paper | Roll size | Rolls | Cost |
|---|---|---|---|
| Con-Tact Marble liner | 18 in. x 16 ft | 3 | $23.97 |
| Threshold Textured Shiplap | 20 in. x 16.5 ft | 3 | $105 |
| RoomMates Weathered Plank | 20.5 in. x 16.5 ft | 3 | $119.97 |
All three need 3 rolls for this kitchen. With the Con-Tact rolls, the third one has 36 in. left, enough for a spare upper cut if one goes wrong.
How to Cut and Wrap One Door
Take the door off first, and bag the hinge screws so they don’t wander. Number each door on the back with tape so it goes back where it came from.
- Clean the face. Grease is the enemy of any adhesive. Wash with dish soap, rinse, then wipe with a 1:1 mix of isopropyl alcohol and water, as Tempaper’s FAQ suggests; it warns household cleaners “can leave a residue behind.” Let it dry fully.
- Cut the sheet 2 in. bigger than the door in both directions, then cut a 1 in. square out of each corner so the folds lie flat.
- Smooth from the center out with a felt squeegee, then fold the edges to the back.
- On the hinge side, wrap only the edge and trim flush at the back. Concealed hinge cups sit close to that edge on the back.
- Poke the knob holes from the back with an awl, then trim with a craft knife.
For a backsplash to match, see our peel and stick backsplash picks. For the counters, see renter-friendly countertop covers.
Heat and Steam Zones
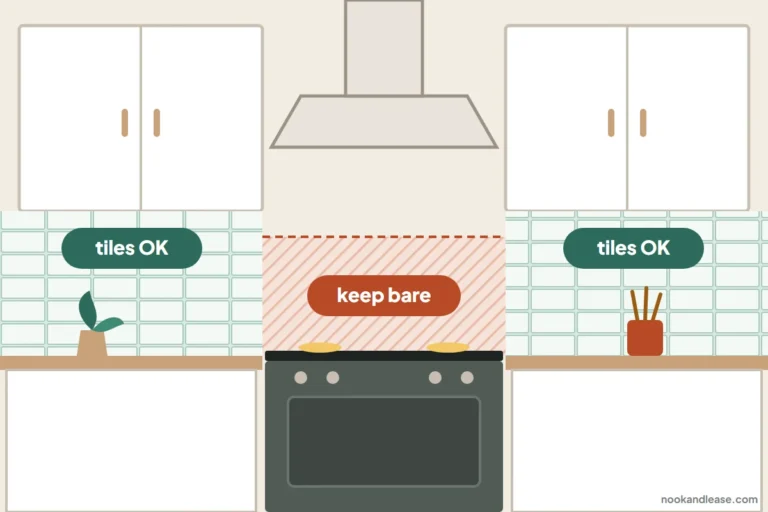
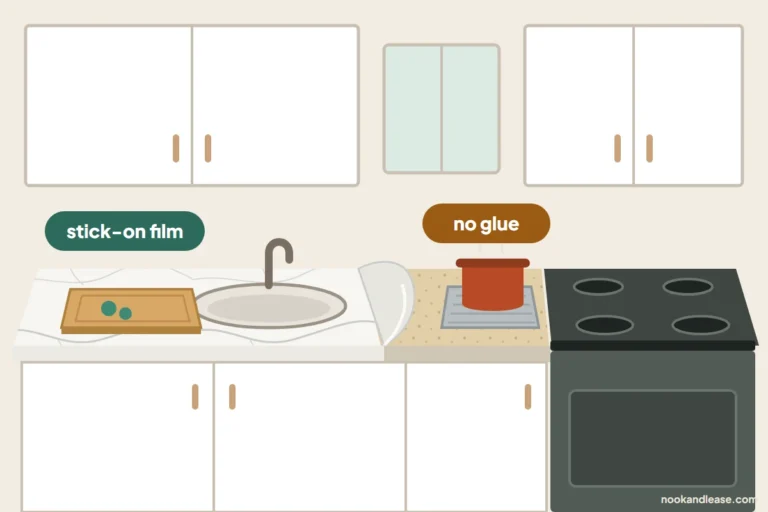
Adhesive paper and heat don’t mix. Con-Tact’s FAQ says its adhesive liners “can only withstand lukewarm or very low heat and no open flames.” d-c-fix is blunter: “In the event of a fire our foils will burn just like other PVC products.”
Skip the doors right beside the range and the oven, and watch the doors next to the dishwasher, where steam escapes at the edges. Those are also the spots where Wellborn warns about heat and wetness at door edges.
Small appliances count, too. Holiday Kitchens says to “pull countertop appliances, such as toasters, oven grills, or coffee makers, out from under the cabinetry before use,” and to open doors near the oven during self-cleaning cycles.
New Knobs Without New Holes
In a renter friendly kitchen cabinet makeover, hardware changes the look as much as the paper does. The rule for renters: reuse the holes that are already there and keep the old knobs in a labeled bag.
| Option | Fits | Price |
|---|---|---|
| Knob swap, 1 hole | Doors 1/2–3/4 in. thick | $8 per 2 |
| Pull swap, 2 holes | 3 to 5 1/16 in. spacing | $7.48–$9.62 each |
| Clip-on handle | 5/8 in. thick doors only | $3.50 per 2 |
Knobs: most single-hole knobs swap with a screwdriver. Measure the door thickness first.
Pulls: measure the distance between the two existing holes, center to center. Common sizes are 3 in., 3 3/4 in. (96 mm) and 5 1/16 in. (128 mm), and a pull has to match exactly.
Clip-on handles: IKEA’s DRAGSMARK “mounts easily without drilling,” but IKEA lists it for doors 5/8 in. thick. Many rental doors are thicker, so measure first. It’s also on clearance at IKEA, so it may sell out.
Stick-on knobs are sold too, but the ones we found list no load rating. For doors you open every day, a screw-in swap is the safer bet.
Products We’d Consider
Prices were checked on November 17, 2026, and change often.
- Con-Tact Brand Adhesive Shelf Liner, Marble, 18 in. x 16 ft — $7.99 at Target. Made with “a water-based adhesive that allows you to reposition and remove it without any sticky leftover residue.” Rated 4.2 by 118 buyers.
- Threshold Textured Shiplap Peel & Stick Wallpaper, White — $35 at Target, 20 in. x 16.5 ft. The brand can’t guarantee clean removal from wood cabinets. Rated 3.8 by 361 buyers.
- RoomMates Coastal Weathered Plank Peel and Stick Wallpaper — $39.99 at Target, 20.5 in. x 16.5 ft. “Apply to any smooth, flat, and clean surface.” Rated 4.7 by 11 buyers.
- Tempaper Wood Planks Peel and Stick Wallpaper — a brand that lists cabinets as a use; check the price on its site.
- IKEA BAGGANÄS Knob, Brass Color, 13/16″ — $8 for 2. “Suitable for doors ½”-¾” thick. Screws included.” Rated 4.8 by 675 buyers.
- IKEA BAGGANÄS Handle, Brass Color, 5 5/8″ — $10 for 2, with holes 5 1/16 in. apart. Rated 4.7 by 899 buyers.
- Amerock Blackrock 3 in. Pull, Satin Nickel — $7.48 at Target, 3 in. center to center. Also sold in 3 3/4 in. ($8.56) and 5 1/16 in. ($9.62).
- IKEA DRAGSMARK Clip-On Handle, White — $3.50 for 2 (reg. $4). No drilling, but only for 5/8 in. doors. Rated 4.0 by 109 buyers.
Move-Out Removal
Take it slow. Con-Tact’s instructions say to “first heat the surface to loosen the adhesive’s grip (e.g. blow dryer on low setting),” and d-c-fix says a hairdryer makes removal “a little easier.”
Peel at a low angle, not straight out. Put the original knobs back, fill nothing, and wipe any residue with warm soapy water.
Looking for storage next? See our no-drill kitchen storage ideas or more kitchen and bath refresh ideas.
Can renters put contact paper on kitchen cabinets?
Often, yes, but ask your landlord and test a small piece inside a door for 24 to 48 hours first.
How much contact paper do I need for kitchen cabinets?
Add 1 in. on each side of every door and add up the cut lengths. Ten 15 x 30 in. uppers and eight 15 x 24 in. lowers take 3 rolls of 18 in. x 16 ft liner.
Can you put contact paper on thermofoil cabinets?
Be careful. Cabinet makers warn that heat and wetness at the edges can make thermofoil delaminate, so skip doors near the stove and test first.
Will contact paper damage cabinets when I move out?
It can lift weak paint or thin veneer. Warm it with a hairdryer on low and peel slowly.
Can I change cabinet knobs in a rental?
Yes, if you reuse the existing holes and keep the originals to put back. Pulls must match the hole spacing exactly.